For Venues
Set up a venue and add your staff
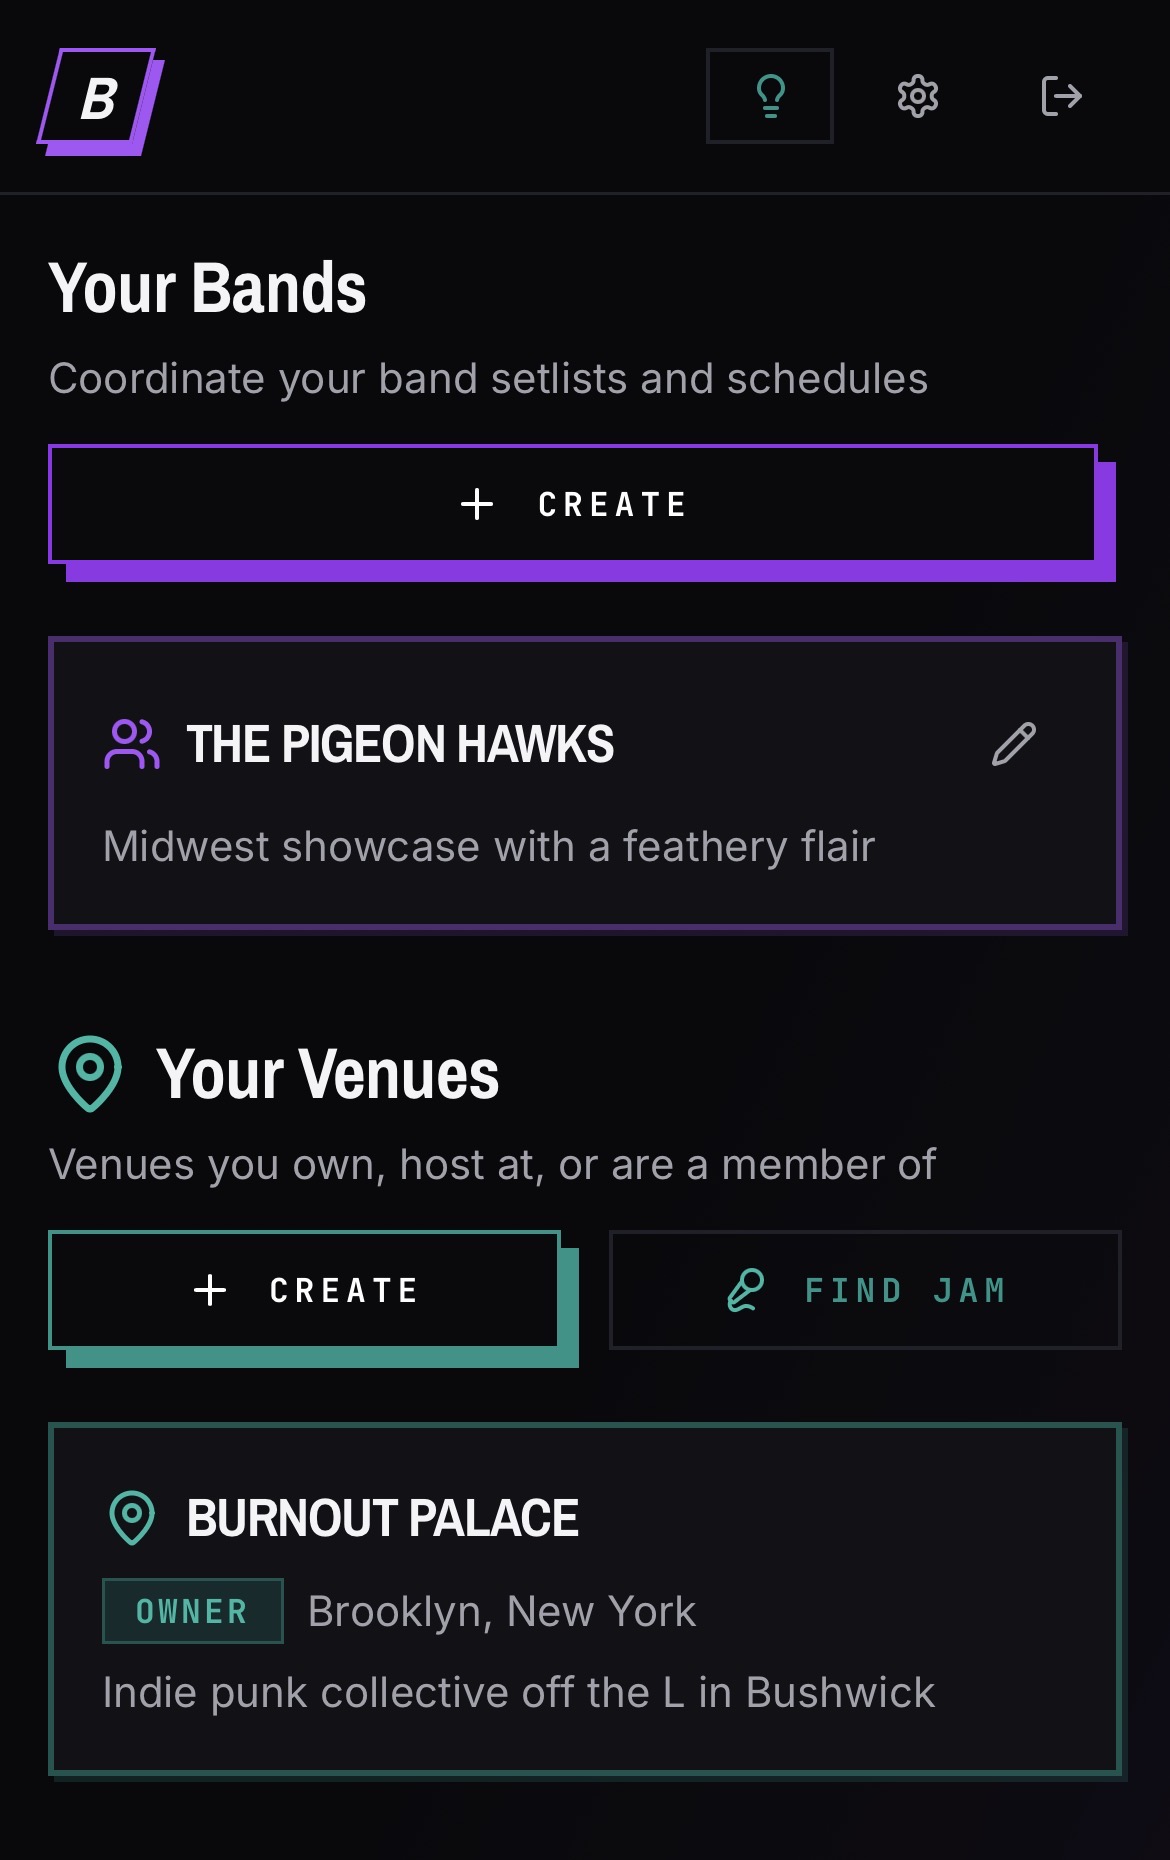
Create a venue from the Dashboard using the Create Venue button. You become the owner, and you invite staff using reusable role invite codes.
Create the venue
- 01Sign in and open your Dashboard.
- 02Tap the Create Venue button and enter your room's details, including the city.
- 03You are assigned as the venue owner automatically.
Add staff
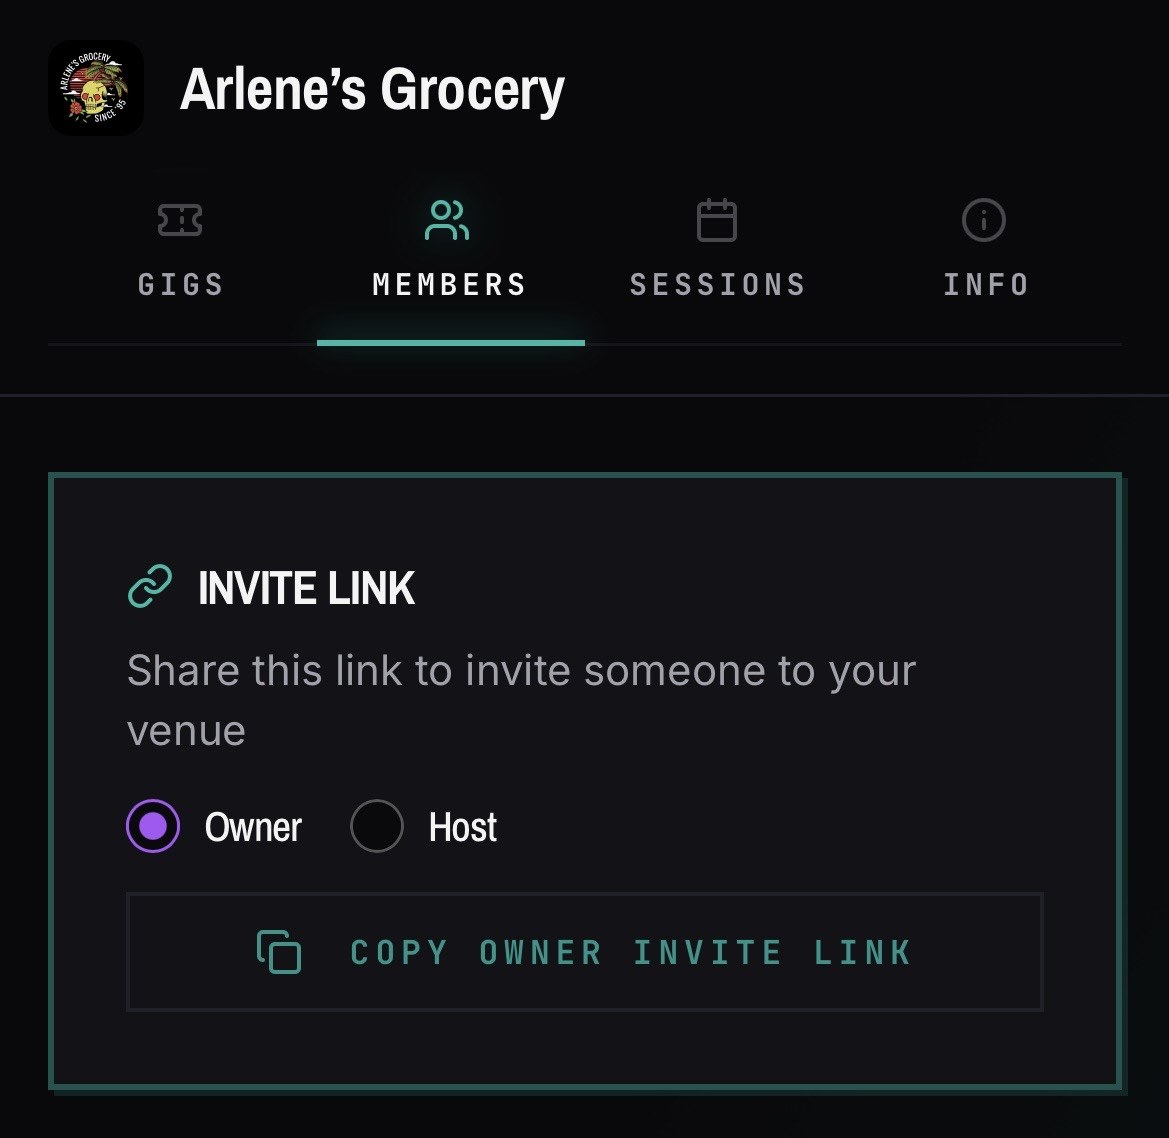
- 01Open the venue's Members tab.
- 02Generate an invite code for the role you want to grant: owner or host.
- 03Send the code. It is reusable, so one link can onboard several people.
Good to know
- Owners run the venue, including settings, integrations, events, bookings, and tickets. Hosts can only manage sessions like open mics and jams. Members have limited access.
- The city matters — BANDANA uses it to determine your local time zone for event times and calendar cutoffs.
- Creating a venue triggers a welcome email to the owner. Every BANDANA email is tied to activity like this — see the full list in Emails BANDANA sends you.